As an Amazon Associate I earn from qualifying purchases. This link may earn PickScoreLab a commission at no additional cost to you.
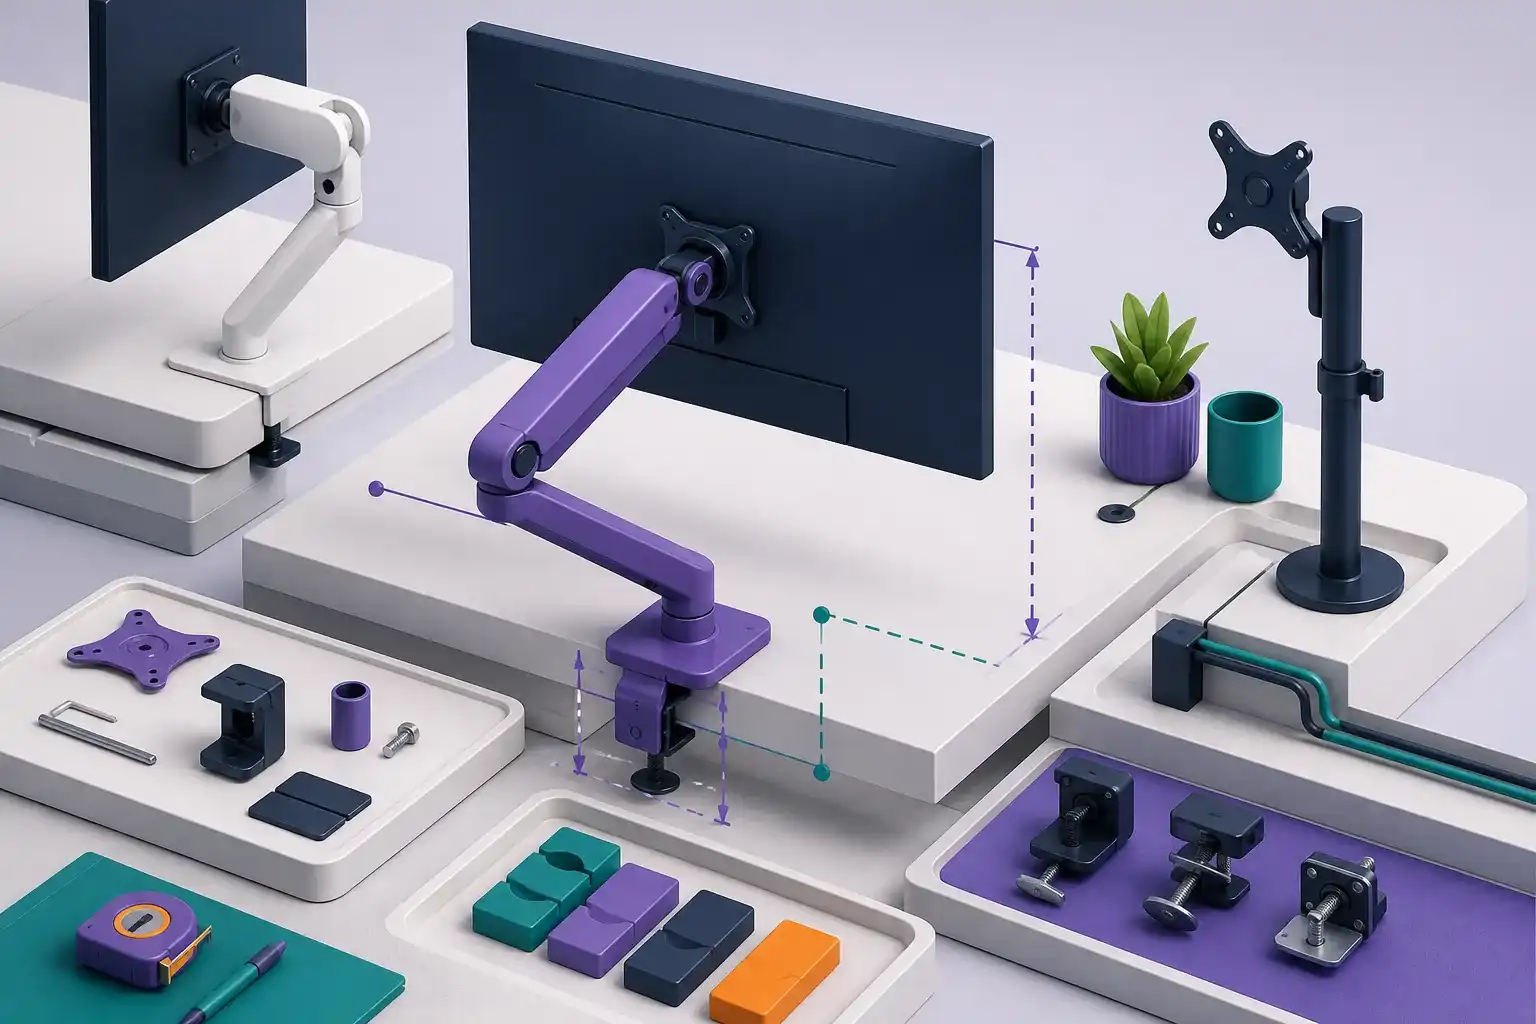
A monitor arm must fit four things at once: the monitor, the desk, the viewing position, and the way cables move. Product filters often emphasize screen size, but size is only a rough proxy. Weight without the original stand, VESA mounting pattern, desk structure, and arm geometry are the specifications that decide whether the setup can work.
Use the Monitor Arm Fit Checker for a quick comparison, then complete the manual checks below. A numerical pass is not a safety certification; it cannot see a weak desktop, recessed mounting holes, or blocked clamp access.
Record the monitor’s mount data
Find the exact monitor manual or technical sheet and record:
- weight without the original stand;
- VESA hole pattern in millimeters;
- screw size and permitted engagement depth;
- whether the VESA area is flat, recessed, or obstructed;
- monitor dimensions and curvature;
- cable connector direction.
Common small-monitor patterns include 75 × 75 mm and 100 × 100 mm, but do not infer the pattern from screen size. VESA’s Flat Display Mounting Interface defines mounting interfaces, while the product documentation tells you which interface the specific monitor implements.
Use the right weight number
Arm capacity should be compared with the display’s mounting weight, normally the monitor without its supplied base. Do not use shipping weight, which includes packaging and accessories. If a camera, light, mini computer, soundbar, or other device will ride on the monitor or arm, include its effect and mounting method.
The arm’s range may include both a minimum and maximum. A very light display can be a poor match for a gas-spring arm whose tension cannot be reduced enough. A display just under the maximum may technically fit but leave little adjustment margin, especially when it is deep or strongly curved.
Curved and ultrawide monitors can place their center of gravity farther forward than a flat panel. A manufacturer may publish a different capacity or explicit restriction for curved displays. Screen size alone will not capture this leverage.
Match the VESA interface completely
The arm plate needs to support the monitor’s pattern, and the included hardware needs to fit the monitor’s threaded inserts. Check:
- hole spacing;
- screw diameter and thread;
- allowed screw depth;
- recess clearance;
- plate size around ports or case contours.
Screws that are too short may not engage securely. Screws that are too long can bottom out or damage internal components. Use the monitor maker’s instructions and the mounting hardware specified by the arm maker. Spacers may be appropriate for a recessed area only when the mounting instructions allow them.
If a monitor lacks a listed VESA interface, use only an adapter designed and approved for that exact model or chassis. Generic edge-grip adapters can change weight, depth, and balance and may block controls or ventilation.
Inspect the desk, not just its thickness
A clamp needs both an opening wide enough for the desktop and a flat, strong contact area above and below. Measure the actual clamping location.
Look underneath for:
- a metal frame or apron;
- cable-management trays;
- drawers or controls;
- beveled or rounded edges;
- a desktop lip that is thicker than the main surface;
- seams or hollow areas.
A clamp can fit the nominal thickness but still fail to seat because an apron blocks the lower pad. A grommet mount needs a suitable hole and enough space for its hardware. Do not drill or clamp into glass, stone, hollow-core, damaged, or unusually thin material without explicit guidance from the desk and arm manufacturers.
Reinforcement plates can spread load and protect a finish, but they do not turn a structurally unsuitable desktop into a safe one. If desk strength is uncertain, ask the desk maker or choose a supported freestanding solution.
Measure reach in three dimensions
Maximum reach is not the same as useful reach. Sketch where the clamp can attach and where the center of the screen needs to sit.
Measure:
- horizontal distance from mount point to screen center;
- desired screen height;
- distance from the wall;
- space needed behind the monitor for arm joints;
- side clearance for rotation;
- lowest and highest usable position.
An arm can have a long published reach yet require its elbow to extend behind the desk. A desk against a wall may prevent the motion shown in product images. Conversely, a deep desk may need more forward reach than a short arm provides.
OSHA’s workstation checklist suggests positioning the monitor so the top is at or below eye level for many users and keeping the primary monitor directly in front. That is a starting point, not a fixed prescription for every person. Bifocals, screen size, posture, and task can change the comfortable height.
Single, dual, or independent arms
A dual crossbar arm can align two similar monitors neatly and use one desk mount. Its geometry may be restrictive when monitors differ in size or when one is portrait.
Two independent arms use more clamp space but allow separate depth and height adjustment. They can also make future replacement easier. For either design, confirm whether weight limits are per arm and whether the combined desk load and leverage are appropriate.
For a primary-and-secondary setup, place the main screen directly ahead and the secondary beside it. If both are used equally, a centered seam may work. Choose the geometry based on actual use rather than symmetry in a photograph.
Motion and tension
Decide which adjustments need to happen daily:
- height;
- depth;
- side-to-side position;
- tilt;
- swivel;
- portrait rotation.
If the monitor will remain fixed after setup, a simpler arm may be more stable and easier to cable. If it moves between focused work, video calls, and collaboration, smooth motion and reachable tension controls matter.
Read the adjustment instructions before buying. Some arms require the monitor to be attached before spring tension can be set. Tightening the wrong fastener or forcing movement can damage the mechanism.
Plan cable movement
Cables need enough slack for the full motion range but should not pull on ports or enter joints. Check the routing channel’s capacity and whether its covers are removable.
Route power and video cables through the arm with the monitor in the farthest expected positions. Create a controlled service loop near moving joints. A short, stiff, or heavy cable can resist movement and change the final monitor position.
Final fit checklist
- Monitor weight without stand is inside the arm’s supported range.
- Accessories and curved-screen leverage are accounted for.
- VESA pattern, screw specification, recess, and plate clearance match.
- Desk thickness fits at the exact mounting point.
- The underside is clear of frames, trays, drawers, and bevels.
- The desk material and structure are approved for the mount.
- Arm reach works without colliding with the wall.
- Height range supports a comfortable viewing position.
- Cable length and routing allow every intended movement.
- Installation and tension instructions are available.
A monitor arm is a fit problem before it is an aesthetics problem. Measuring these constraints takes longer than filtering by screen size, but it is much faster than repacking a heavy steel arm that never had a safe place to clamp.
Compare monitor arms after checking fit
Confirm display weight without the stand, VESA pattern, desk thickness, clamp clearance, and required reach before opening a retailer listing.
Browse monitor arms on Amazon(paid link)As an Amazon Associate I earn from qualifying purchases. This link may earn PickScoreLab a commission at no additional cost to you.
Sources and further reading
- VESA FAQ: Flat Display Mounting Interface standard
- VESA: FDMI overview
- OSHA: computer workstation evaluation checklist
Specifications and standards can change. Check the device maker’s current documentation before purchasing.